Few home improvement projects feel as disruptive as replacing your plumbing system, but knowing the repiping process steps can turn uncertainty into confidence. For Sacramento homeowners, understanding how a whole house repipe actually unfolds from the first inspection to the final coat of paint makes the experience less stressful and more predictable while ensuring you stay informed during every stage.
This detailed guide explains the entire home repiping procedure in simple, practical terms so you know what happens, when, and why. Ahead, you’ll see how careful planning, professional plumbing craftsmanship, and city-approved inspections combine to protect your investment and restore reliable water flow throughout your home. Let’s look at the major stages that define a smooth, successful repiping project.
Key Takeaways
- Start your repiping process with a detailed plumbing inspection to determine scope, material options, and potential access points.
- Choose between PEX, copper, or CPVC pipes based on Sacramento’s water chemistry, code requirements, and your home’s plumbing layout.
- Plan new pipe routes carefully to minimize wall openings and optimize water flow, especially in older slab or lath-and-plaster homes.
- Expect a short water shutoff while professionals remove old pipes and install modern lines that improve pressure and water quality.
- Ensure your new system passes pressure testing and city inspection to confirm leak-free performance and full code compliance.
- Finish with wall repairs, paint, and cleanup that restore your home’s look and comfort after all repiping process steps are complete.
Why Sacramento Homeowners Choose to Repipe: Recognizing the Warning Signs
Older Sacramento homes, especially those built between the 1950s and 1970s, often still rely on galvanized steel or even polybutylene water lines that are nearing the end of their lifespan. If you’re seeing discolored water, persistent low pressure, or frequent pinhole leaks, it may be time to consider the repiping process steps that prevent surprise water damage and restore everyday comfort. Many homeowners start by comparing how house repipe works against spot repairs, but whole-home repiping solutions often save time and stress. For a deeper look at typical plumbing symptoms, review these common signs your home may need repiping.
Early Pipe Failure Signs
- Brown or yellow water after turning taps on
- Water pressure that drops when multiple fixtures run
- Recurrent slab or ceiling leaks
- Corroded pipe flakes in aerators or strainers
- Hot water that runs out faster than usual
Spotting the Early Signs of Failing Pipes
How do I know if my house needs repiping? Look for three clusters of clues: water discoloration, pressure issues, and frequent leaks. Rusty or metallic-tasting water suggests internal corrosion and likely pipe replacement ahead. Pressure that dips when laundry, showers, and sprinklers overlap points to narrowing galvanized pipes. Multiple leaks in a year, even after repairs, hint that the whole house repipe process could be more cost-effective than continuing spot repairs. If these patterns match your home, it’s time to plan your repiping process steps with a licensed Sacramento plumbing contractor.
Emotional Relief: The Confidence That Comes with a Fresh Plumbing System
A properly planned home repiping procedure does more than end nuisance leaks. It delivers consistent water temperature, noticeable water pressure improvement, and the comfort of knowing tomorrow’s shower will be stress-free. Sacramento homeowners often feel immediate peace of mind when repiping process steps are clearly explained, schedules are honored, and wall repairs are completed. With a modern water system, you can stop worrying about hidden corrosion and enjoy cleaner water delivery and a plumbing infrastructure built for decades.
Step 1: Plumbing Inspection and Assessment – The Foundation of a Successful Repipe
Every successful repipe begins with a thorough plumbing inspection that defines scope, timelines, and the most efficient repiping process steps. Your Sacramento plumber checks visible corrosion, pressure irregularities, shutoff valve conditions, and the pipe materials common in the region’s older homes. We also note slab access points and plan for minimal wall cuts. To help the visit run smoothly, a little homeowner preparation goes a long way.
Homeowner Pre-Inspection Prep
- Clear access to the water heater, main shutoff, and key fixtures
- Make a list of recent leaks or pressure issues
- Move stored items away from suspected wall access points
- Note your preferred working hours and pet accommodations
For larger projects or a second opinion, explore our professional repiping services in Sacramento.
What Your Sacramento Plumber Looks For During Inspection
During a plumbing inspection, we evaluate visible corrosion, pipe wall thickness where accessible, and fixture flow rates that reveal hidden restrictions. Many mid-century homes still have galvanized lines that merit galvanized pipe removal when scaling and rust reduce diameter and pressure. We also verify shutoff valves, water heater connections, and attic or crawlspace accessibility. These details help us tailor repiping process steps to your home’s layout, budget, and schedule.
Quick Homeowner Checklist: How to Prepare for the Initial Inspection
To keep repiping a house step by step and on schedule, clear space around the water heater, bathrooms, and kitchen sink. Note every spot where leaks or stains have appeared. Know how house repipe works by locating your main shutoff and isolation valves. Secure pets, move wall decor near bathrooms, and identify fragile furnishings. A bit of preparation makes the first repiping process steps faster and more accurate.
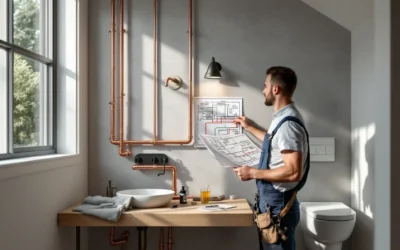
Step 2: Choosing the Right Pipe Material – PEX, Copper, or CPVC
The right pipe material determines cost, timeline, and performance. For Sacramento homes, PEX, copper, and CPVC each have strengths. PEX piping offers flexibility and fewer fittings, copper repiping provides durability and heat tolerance, and CPVC pipe is a budget-friendly rigid option. Local plumbing codes govern acceptable materials, permits, and testing, while your home’s layout and water chemistry influence final choices. For a complete decision framework, review our Sacramento repiping guide, then compare the options below to choose confidently. These repipe installation steps set the tone for the entire project.
Material Comparison: PEX vs. Copper vs. CPVC
| Material | Pros | Cons | Typical Lifespan* |
|---|---|---|---|
| PEX | Flexible runs with fewer fittings and fast installation | Sensitive to UV, must be protected; rodents can be a risk in some attics | 40-50+ years |
| Copper | Proven durability, high heat tolerance, recyclable | Higher material cost; joints require skilled labor | 50+ years |
| CPVC | Lower material cost; corrosion resistant | Brittle under impact; must follow specific solvent-weld practices | 40-50 years |
*Lifespan varies by water chemistry, installation quality, and usage.
Helpful notes:
- PEX’s flexibility enables longer continuous runs with fewer fittings and faster installation, as detailed in the [PEX Design Guide by the Plastics Pipe Institute].
- Copper water tube is rigid and typically joined by soldering or brazing, per the [Copper Tube Handbook].
- For CPVC, hot and cold water distribution pipe should conform to [ASTM D2846 standards].
Step 3: Planning the Repipe – Mapping Your Home’s New Plumbing Pathways
With materials selected, we plan the repiping process steps to route new lines with the fewest wall openings and cleanest possible access. In older Sacramento homes, we often reroute slab lines to overhead or wall chases for easier maintenance. Work is sequenced by area to keep daily life manageable and set clear expectations about protection, access, and noise. These comprehensive home repiping procedure plans keep your project predictable and efficient.
Designing the Layout Around Sacramento’s Architecture
Sacramento plumbing layouts must consider slab foundations, lath-and-plaster walls, and narrow framing bays. We map vertical chases, crawlspace runs, and fixture groupings to shorten pipe lengths and reduce fittings. This careful pipe material selection plus smart routing simplifies future maintenance and keeps repiping process steps efficient, even in mid-century or custom homes.
Homeowner Prep: Protecting Belongings and Work Areas
Before repiping installation begins, cover furniture with plastic or sheets, remove wall art near bathrooms and kitchens, and set aside space for tool staging. Use floor protection in hallways and move breakables out of the way. When you know how to prepare your home for repiping, you help the crew move efficiently through each repiping process step while reducing dust where your family spends time.
Step 4: Water Shutoff and Site Preparation – The Official Start
On day one, we complete the water shutoff, set floor and dust protection, and confirm the work sequence so you know which rooms we’ll open. Temporary water loss can feel disruptive, so we schedule breaks or provide interim access when possible. Expect clear daily updates as repiping process steps move from demo to installation. Our priority is to protect your home, respect your routine, and keep you comfortable during plumbing construction.
Daily Comfort Tips During Shutoff
- Fill pitchers and a bathtub before shutoff hours
- Keep hand sanitizer and wipes in bathrooms
- Use disposable dishes on heavy workdays
- Coordinate showers around scheduled testing windows
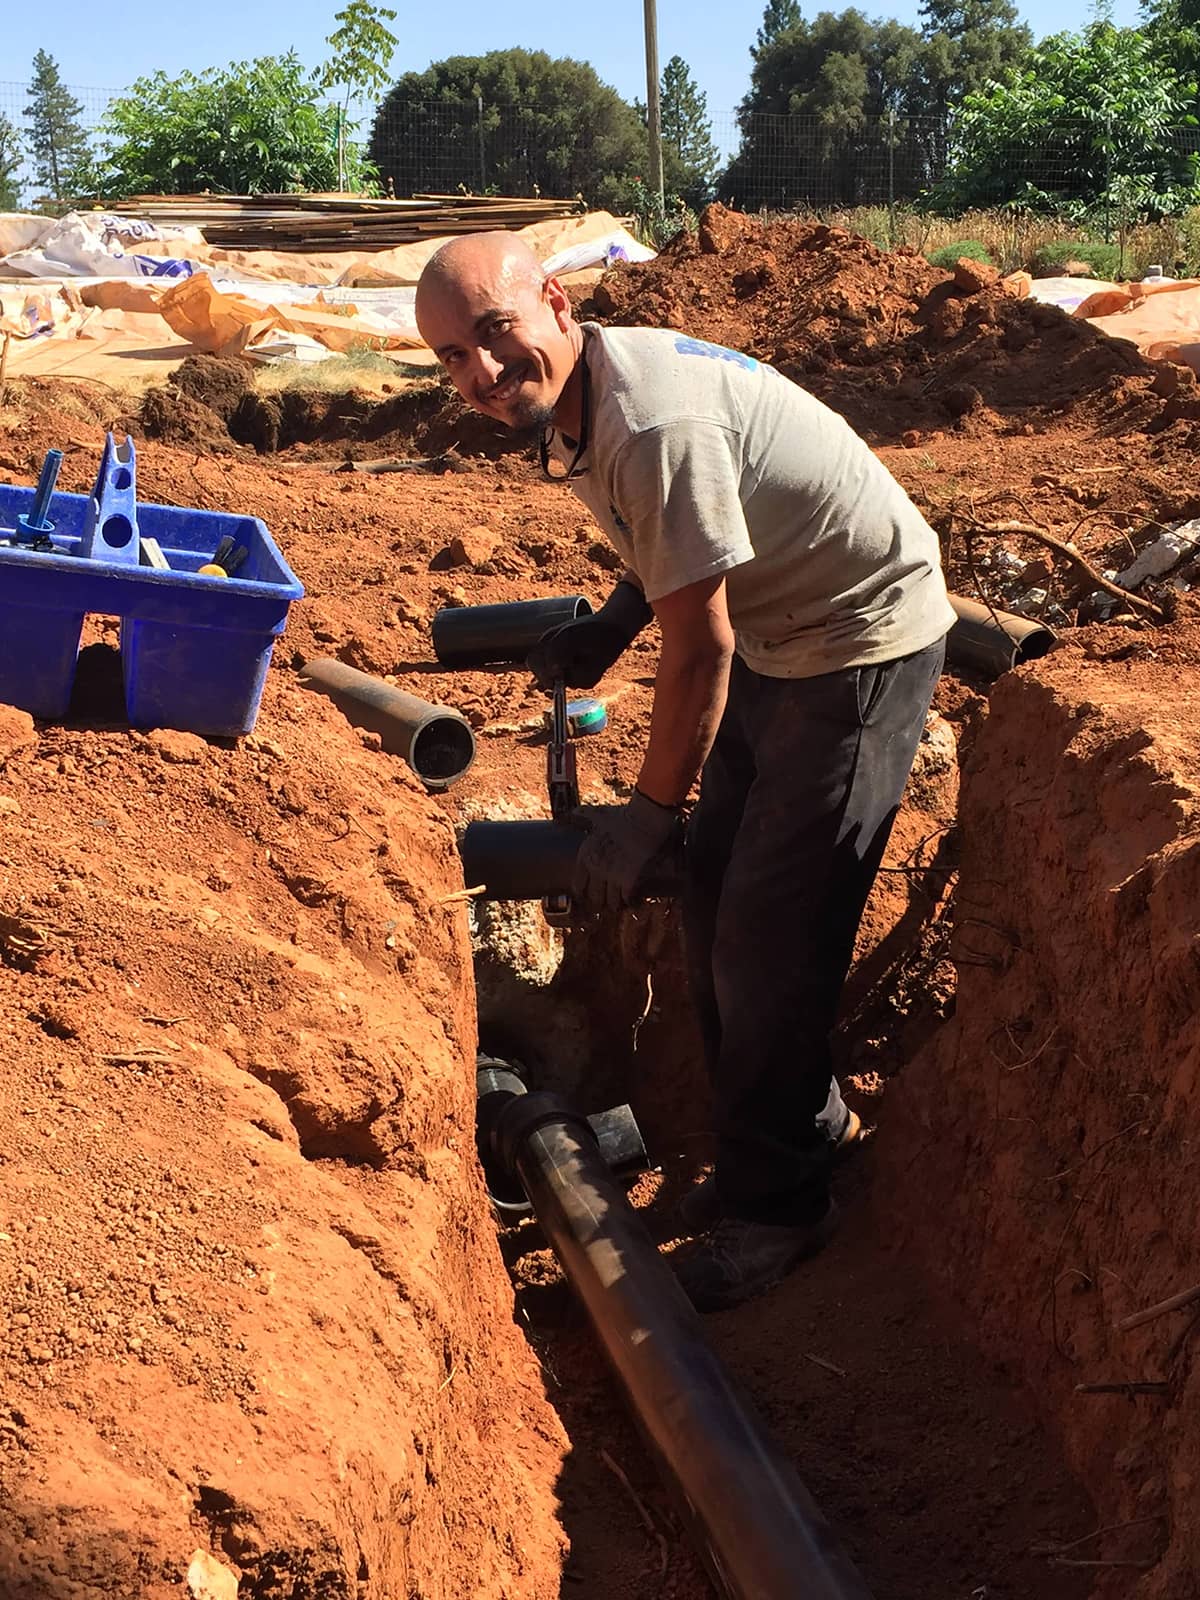
Step 5: Removing Old Pipes Without Damaging Your Home
Old pipe removal is careful and controlled. We isolate and drain lines, open minimal access points, and remove failed sections in parts to avoid unnecessary damage. For galvanized pipe removal in slabs or walls, we cut precisely and cap safely. Crews use drop cloths, zip walls, and HEPA vacuums to manage dust while following the home repiping procedure. Where possible, we abandon inaccessible slab lines and reroute overhead to minimize future risk.
Home Protection Highlights
- Plastic containment and floor runners in traffic areas
- Vent sealing and negative air where dust is heavy
- Covered returns and registers to protect HVAC
- Immediate debris removal to keep rooms usable
Step 6: Installing New Lines – The Core of the Repiping Process
This is where repipe installation steps and craftsmanship meet. We route mains and branches to fixture groups, size lines for balanced pressure, and secure pipes with proper supports. Valve placements prioritize future serviceability. The repiping process steps include insulating hot lines for energy efficiency and labeling shutoffs for clarity. With careful planning, most Sacramento homes see steady progress daily, and many fixtures are back online quickly.
For scope options and timelines tailored to your property, explore our professional repiping services in Sacramento.
Step-by-Step Inside the Repipe Installation
Here’s the whole house repipe process in action: we pull dedicated home runs or trunk-and-branch lines, make clean transitions at the water heater, and set manifolds or tees as needed. New pipe installation follows manufacturer specifications, with secure supports, proper bend radiuses, and smooth, square cuts. We balance flows to reduce temperature swings and optimize pressure. These repiping process steps ensure consistent performance at every faucet.
What’s Different About PEX vs. Copper Installation
PEX repiping reduces fittings and speeds pulls through tight cavities. Copper repiping requires precise measuring, cutting, and soldering or brazing fittings with open-flame controls. PEX allows quick curves, while copper requires elbow fittings for direction changes. Both deliver durable systems when installed correctly. Clear communication about these Sacramento-specific repiping process steps helps you choose what fits your budget, conditions, and long-term goals.
Step 7: Pressure Testing and Leak Checks – Trusting Your New System
Once new lines are in, we perform pressure testing and detailed leak checks before closing any walls. Crews pressurize the system with water or air to confirm tight connections, then recheck after fixtures are reconnected. These repiping process steps prevent callbacks and confirm code compliance. You’ll get a clear pass-fail snapshot and a plan if corrections are needed, plus guidance on when full water service will resume.
For complex supply issues, we also offer precision pressure testing and water line repair.
How Pressure Testing Works
Your plumbing repipe process includes a sustained pressure test to verify system integrity and prepare for city inspection. California Plumbing Code Section 609.4 requires water supply systems to be tested and proved tight using a water test not less than working pressure or, for nonplastic piping, an air test of at least 50 psi for 15 minutes.
What Happens If a Leak Is Found
If leak checks detect a drip, we depressurize, open the access point, correct the joint, and retest until the system holds. Typical repipe corrections are quick when addressed during testing. We’ll document fixes, resecure supports, and continue the repiping process steps. You’ll receive clear updates so you know exactly what changed and why.
Step 8: City Inspection and Code Compliance – Sacramento’s Safety Seal of Approval
After testing passes, we schedule the Sacramento plumbing inspection to verify code compliance and workmanship. The City of Sacramento’s Building Division requires inspections for permitted plumbing projects. The process on the City of Sacramento Building Inspections page. Sacramento enforces the California Building Standards Code (Title 24), including the state plumbing code. These repiping process steps ensure safety and protect future resale value.
City Inspection Checklist Snapshot
| Item | What the Inspector Confirms |
|---|---|
| Permits | Proper permits pulled and posted |
| Materials | Approved materials used and labeled |
| Supports | Adequate hangers, straps, protection plates |
| Testing | Documented pressure test results |
| Accessibility | Clear access to key valves and cleanouts |
Step 9: Finishing Touches – Wall Repairs, Paint, and Cleanup
With approvals complete, we patch access points, repair drywall, texture-match, and paint to blend. Careful cleanup returns rooms to normal quickly. If you have lath-and-plaster, we use compatible methods to stabilize edges before patching. The outcome is a clean finish that looks seamless, completing the home repiping procedure with craftsmanship. For a full walkthrough of what to expect post-installation, revisit our Sacramento repiping guide.
How Long a Sacramento Repipe Takes and What to Expect
Project duration depends on home size, number of fixtures, slab or crawlspace access, and your chosen pipe material (PEX, copper, or CPVC). Most single-family homes are planned so at least partial water service returns each evening. Clear daily communication helps you organize cooking, laundry, and showers around the repiping process steps. Use the averages below as a planning guide and expect adjustments for custom framing or wall repairs.
Average Repipe Timelines by Home Size
| Home Size | Typical Duration |
|---|---|
| Condo or small 1-2 bed | 1-2 days |
| 1,200-1,800 sq ft, 2 baths | 2-3 days |
| 1,800-2,500 sq ft, 2-3 baths | 3-4 days |
| 2,500+ sq ft or complex layout | 4-6 days |
Budget Breakdown: What a Whole-House Repipe Costs in Sacramento
Costs depend on material, access, fixture count, and wall repair scope. PEX often lowers labor and material totals, while copper raises materials and jointing labor. CPVC can trim material cost but needs proper solvent-weld technique. Expect separate line items for permits, patching, and potential code upgrades. We’ll outline clear pricing and the repiping process steps that affect cost, then help you prioritize essentials.
Cost Comparison – PEX vs. Copper vs. CPVC
| Cost Factor | PEX | Copper | CPVC |
|---|---|---|---|
| Material cost | Low to moderate | High | Low |
| Labor hours | Lower, faster pulls | Higher, joint-intensive | Moderate |
| Wall access | Minimal in many cases | Moderate to high | Moderate |
| Total project cost | $ | $$$ | $$ |
What Could Go Wrong: Common Repiping Mistakes to Avoid
Most issues are preventable with thoughtful repiping process planning. Here are five pitfalls to avoid:
- Undersized lines to fixture groups: verify sizing during layout review.
- Poorly protected work areas: confirm floor and dust protection standards early.
- Missing shutoff labeling: require clear labels on completion.
- Rushed pressure testing: insist on documented pass results before patching.
- Incomplete scope near the water heater: review transitions, valves, and expansion tank requirements.
If you’re unsure whether your home is ready, compare these with the common signs your home may need repiping to confirm your timing.
Expert Insights: Why Sacramento Plumbing Pros Make the Difference
Local plumbing experience matters. Sacramento plumbers understand slab homes, mid-century framing, and the region’s specific water chemistry, which impacts material choice and lifespan. They know how to stage work so families remain comfortable during the repiping process steps. From protecting lath-and-plaster walls to routing overhead runs cleanly, local pros deliver smoother projects and polished finishes. For a cohesive plan from inspection to final paint, rely on trusted Sacramento plumbing services for design, installation, and code coordination.
Ready to Repipe? What Sacramento Homeowners Should Do Next
If the signs point to repiping, take these repiping a house step by step actions now. Start with a consultation, compare pipe material options, and set a realistic project schedule. Preparing for a repipe with a concise task list helps plumbers start fast and finish cleanly. When your questions are answered and repiping process steps are mapped, you’ll feel confident from day one.
Homeowner Pre-Repipe Readiness
- Confirm project scope, fixtures, and preferred materials
- Plan daily routines around short water shutoff windows
- Clear access paths and protect valuables in work zones
- Align on wall repair expectations and paint finish preferences
Moving From Uncertainty to Confidence
Understanding the repiping process steps empowers Sacramento homeowners to take control of one of the most important home upgrades they’ll ever make. A well-structured plan transforms what could feel disruptive into a smooth, predictable improvement that boosts water quality, strengthens resale value, and enhances daily comfort. With a trusted local plumbing team guiding inspections, materials, and testing, your investment supports decades of reliable performance and peace of mind. Now is the perfect time to replace aging lines before small leaks create costly surprises. Schedule a consultation with Sacramento Plumbing Solutions to discuss your home’s unique layout, goals, and timeline. When you’re informed, prepared, and partnered with proven plumbing experts, your repipe becomes more than an upgrade—it becomes a lasting improvement to your home’s safety and comfort.