



The best ADU bathroom designs combine efficient layouts with smart plumbing planning to maximize every square foot. In most accessory dwelling units, placing the shower, toilet, and sink along a single wet wall reduces plumbing complexity, lowers installation costs, and creates a more functional layout. Space-saving fixtures such as floating vanities, wall-mounted toilets, and curbless showers can further improve comfort without increasing the bathroom’s footprint.
This guide explores practical ADU bathroom layouts, plumbing strategies, space-saving fixtures, accessibility considerations, and design ideas to help homeowners create bathrooms that are functional, attractive, and built for long-term use.
Key Takeaways
- Maximize limited space in ADU bathroom designs by aligning fixtures along a single wet wall to simplify plumbing and expand usable area.
- Use space-saving fixtures like wall-hung toilets, floating vanities, and corner sinks to enhance flow and open floor space.
- Integrate smart plumbing solutions such as PEX piping, in-wall carriers, and tankless water heaters to improve water efficiency and reduce maintenance.
- Enhance the illusion of space with light hues, reflective tile, and layered lighting for a bright, airy atmosphere.
- Incorporate sustainable features like low-flow faucets, dual-flush toilets, and insulated hot-water runs to conserve resources and lower utility costs.
- Prioritize accessibility with curbless showers, ergonomic fixtures, and proper clearances to ensure comfort and long-term adaptability.
Inspiring ADU Bathroom Designs with Smart Plumbing Solutions
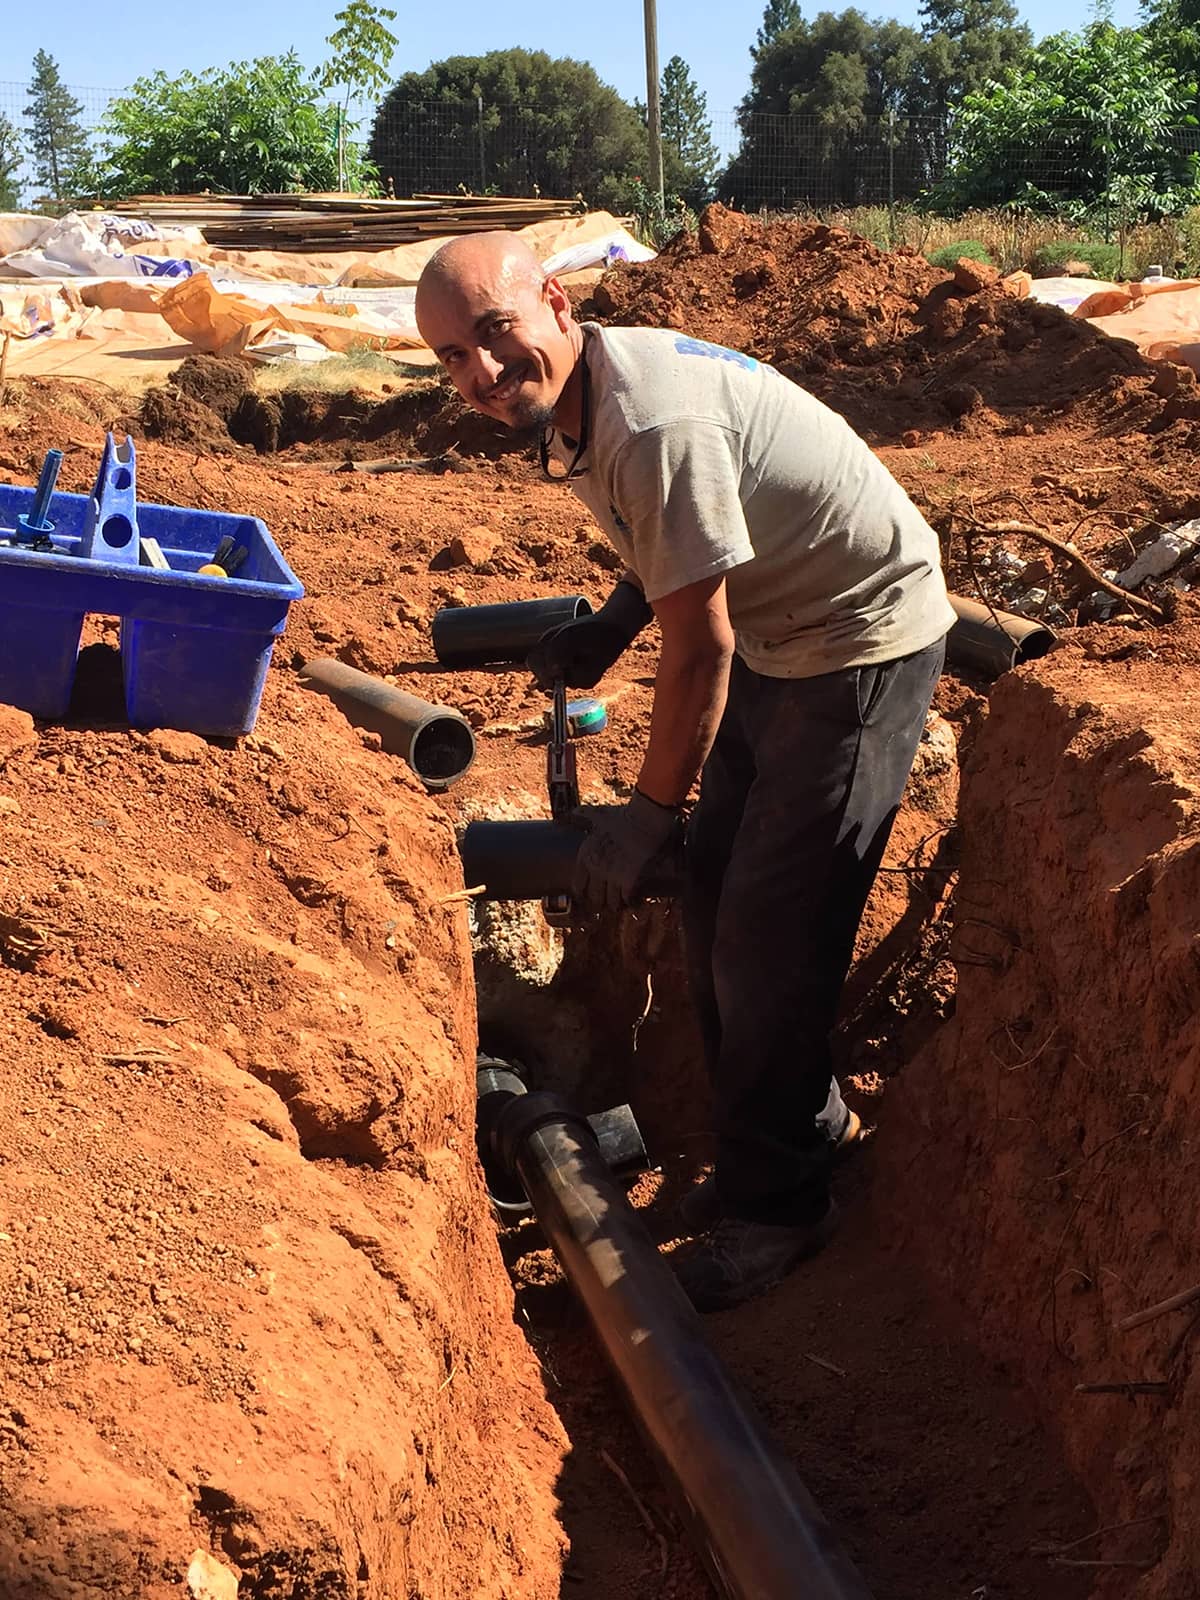
Successful ADU bathroom designs begin with efficient plumbing rather than expensive finishes. Planning the location of water supply and drain lines early allows homeowners to maximize floor space while keeping installation costs under control. Once the plumbing layout is established, features such as floating vanities, frameless glass panels, recessed storage, and layered lighting can make even compact bathrooms feel spacious and comfortable. If you want a partner who understands both style and function, explore local expertise from the pros at Sacramento Plumbing Solutions for guidance that’s as practical as it is polished. Explore Sacramento Plumbing Solutions
Making the Most of Every Square Inch
When every inch counts, your layout design is your secret weapon. Start with efficient bathroom layouts that let lines and drainage work for you. Wall-hung vanities, pocket doors, and space-saving ADU bathroom fixtures (like corner sinks or in-wall toilets) stretch utility and create a visual lightness that feels bigger. Sketch your plan to scale and test traffic paths: open the door, step in, reach the vanity, pivot to the shower.
Expert Tip: Keeping the shower, toilet, and sink on a single wet wall is one of the most effective ways to reduce plumbing costs, shorten installation time, and simplify future maintenance in an ADU bathroom.
Aim for clean sightlines – glass and reflective tile help bounce light and reduce visual clutter. The smartest ADU bathroom layouts read like they’re twice the size because every element serves more than one purpose.
Three compact layout archetypes
- U-shaped: Vanity, toilet, and shower span three walls; best for separating zones and maximizing storage niches.
- L-shaped: Keeps the shower on a short leg to widen center floor space; ideal for narrow rooms that need better turning radius.
- Linear: All fixtures line one wall for simple plumbing and a sleek, gallery-like look; great for tight, long bathrooms.
Learn essential ADU Plumbing Tips & Guidelines
Rethink the Layout: Small Space, Big Impact
Here’s how to plan an ADU bathroom design that punches above its size. Try a linear gallery layout in a 5-by-10 footprint: door at one end, floating vanity first, then in-wall toilet, capped by a curbless shower with a single pane of glass. Prefer ADU bathroom design ideas for small spaces with more privacy? Pivot to an L-shape: tuck the shower behind a partial wall and let the vanity face the door to welcome natural light. For ultra-compact rooms, angle a corner sink to free up knee space without crowding the door. Mix shallow-depth vanities and niche storage to keep counters clear. The ADU bathroom designs that feel calm, not cramped, emphasize straight traffic paths and simple, repeatable lines in tile and trim.
Positioning Fixtures for Flow and Function
Great flow starts with code-aware spacing and compact fixture solutions. Plan at least 15 inches from a toilet’s centerline to any side obstruction and at least 21 inches of clear space in front of toilets and lavatories so they’re comfortable to use, per the latest International Plumbing Code guidance on fixture clearances. See the fixture clearance requirements summarized in IPC 2024, Section 405.3.1. For efficient bathroom layouts, align the drain stack to minimize turns and keep cleanouts accessible. Center your showerhead to direct spray away from the door opening, and slope floors precisely to keep water where it belongs. Want ADU bathroom designs that feel smooth in motion? Use a single glass panel instead of a full door, and choose a recessed medicine cabinet to add storage without projecting into precious inches.
Smart Plumbing Solutions That Simplify and Save
Today’s smart plumbing solutions for ADU bathrooms make tiny spaces more livable and cost-savvy. Think compact tankless heaters, PEX lines fished through tight structural spaces, and in-wall toilet carriers that free up floors. The best ADU bathroom designs integrate these choices early: a single wet wall can shorten hot-water runs, reduce heat loss, and simplify venting. In-wall systems provide sturdy mounting and slimmer profiles for vanities and WCs, while access panels and shutoff valves keep maintenance simple. Pair these with quiet fan ventilation, a smart leak detector, and isolation valves for stress-free ownership. If you’re budgeting, understanding rough-in distances, vent routes, and fixture loads can help you predict labor hours and material quantities. For a sense of how decisions affect scope and price, review local ADU Plumbing Costs & Requirements to guide your design.
Why smart plumbing matters
- Faster hot water at fixtures with right-sized runs
- Cleaner lines and more storage with in-wall systems
- Easier maintenance via accessible shutoffs and cleanouts
- Lower lifetime costs when leaks and inefficiencies are designed out
Go Tankless: Hot Water Without the Bulk
A tankless water heater is often an excellent choice for an ADU because it eliminates the need for a bulky storage tank while providing hot water on demand. It can free up valuable storage space and improve energy efficiency, but proper sizing, electrical or gas capacity, and venting requirements should always be verified before installation.
According to the U.S. Department of Energy, tankless units are typically 8–34% more energy efficient than storage models, depending on hot water usage, and often last more than 20 years compared to 10–15 years for storage heaters. See the DOE’s homeowner guidance on tankless (demand-type) water heaters. In practice, this means less energy wasted reheating a tank you’re not using – perfect for accessory dwelling unit bathrooms with intermittent occupancy. When planning an ADU bathroom design with tankless, coordinate gas or electrical capacity, vent clearances, and condensate routing during rough-in to keep the install tidy and compliant.
Hidden Strength: Behind-the-Wall Plumbing Magic
Behind clean walls sits the real hero of small bathrooms: a simplified, serviceable plumbing backbone. In-wall carriers for wall-hung toilets and sinks reduce visual mass and increase floor access for cleaning. Many plumbers prefer PEX piping for ADU projects because its flexibility allows it to be installed with fewer fittings than rigid copper pipe, reducing installation time and minimizing potential leak points. Choose a single vertical plumbing chase serving the shower, toilet, and lavatory to streamline venting and keep bulkheads to a minimum. In ADU bathroom designs where every inch is precious, concealed shower valves with easy-access trim let you service components without opening large sections of wall. The result is a quieter, tighter, and smarter system built to be lived in, not fought with.
Design1: The Minimalist Retreat (Budget-Friendly & Calm)
The Minimalist Retreat proves you don’t need a big budget to feel at peace. Start with a wall-hung vanity, matte black hardware, and a large-format tile that reduces grout lines and visual noise. An in-wall toilet keeps the footprint lean and cleaning effortless. Pick a soft, neutral palette, then layer a warm LED mirror for glow without glare. Keep plumbing simple and direct: a single wet wall, straight vent paths, and a slick linear drain at the shower threshold. Minimalism thrives on order, so integrate a recessed niche and a mirrored medicine cabinet for clutter-free counters. For straightforward installs and a clean look, consider professional help with a slim-profile toilet and carrier system – see Toilet Installation Services. In small ADU bathroom designs, this quiet, balanced approach delivers surprising serenity.
Budget snapshot (what drives cost)
- Core plumbing (wet wall, venting, shutoffs)
- In-wall carrier and wall-hung WC
- Vanity and faucet set
- Shower system (valve, head, drain)
- Lighting, mirror, and accessories
Design 2: The Urban Luxe Escape (Mid-Range & Statement-Making)
The Urban Luxe Escape brings boutique-hotel energy to a compact footprint. Picture ribbed glass, a frameless shower panel, and brushed bronze hardware that ties fixtures together with upscale coherence. Use a bold stone-look porcelain on one feature wall to extend height and drama, balanced by quieter tones elsewhere. Underfloor heating adds that daily luxury, while a digital shower valve tucks brains behind the wall for clean lines up front. For accessory dwelling unit bathroom ideas that feel elevated, upgrade to a rain head paired with a handheld on a simple diverter. Tech-forward choices (like a leak sensor under the vanity and a humidity-sensing exhaust fan) fuse glamour with real-life practicality. If you’re seeking ADU bathroom renovation tips, plan power and low-voltage pathways for smart controls early – chasing wiring later is messy and expensive.
Design 3: The Nature-Inspired Nook (Sustainable & Soothing)
Bring the calm of the outdoors in with organic textures, ribbed wood accents, and matte earth tones. Choose a dual-flush toilet and a WaterSense-labeled model to conserve water without sacrificing performance – WaterSense-labeled toilets use a maximum of 1.28 gallons per flush, at least 20% less than the federal 1.6 gpf standard, per the EPA’s guidance on Residential Toilets. Pair that with a high-efficiency shower system and an insulated hot-water run for comfort and savings. Add a skylight or solar tube if possible and run a quiet, continuous fan to keep moisture moving. In ADU bathroom designs grounded in nature, simple materials – pebble shower floors, warm woods, leafy greens – do the heavy lifting. The eco story shines when plumbing and finishes work together.
Water-wise comparison at a glance
- Standard toilets: 1.6 gpf baseline
- WaterSense toilets: Up to 1.28 gpf
- Dual-flush pairing: Reduced flush for liquids, full flush for solids
- Smarter supply runs: Shorter hot-water lines = less waste while waiting
Design 4: The Multifunctional Marvel (Family & Guest-Ready)
Design for everyone – kids, guests, and grandparents – with forgiving finishes and durable details. A combination tub-shower unit welcomes bath time for little ones, while a handheld wand makes rinsing fast and easy. Consider a concealed trench drain for safe, fast evacuation and fewer standing-water moments. Family-friendly plumbing solutions include anti-scald valves, insulated lines to quiet sound, and easily accessible shutoffs. For ADU bathroom designs that flex, add double towel bars stacked vertically, a pull-out laundry hamper in the vanity, and a recessed medicine cabinet with locking storage up top. If you’re collecting ADU bathroom renovation tips for a hard-working space, specify wipeable wall surfaces, silicone-sealed edges that won’t yellow, and grippy matte tile underfoot. The result is everyday fabulous and weekend-guest ready.
Smart storage ideas
- Over-the-toilet shelf or shallow cabinet
- Recessed niches at two heights (kids + adults)
- Toe-kick drawers under the vanity
- Back-of-door organizers for extra linens
Design 5: The Accessible Oasis (Comfort & Adaptability)
Comfort-first planning makes independence feel elegant. Choose a curbless shower with a broad entry, a linear drain at the back wall, and large-format tile for easy rolling or stepping. Opt for ergonomic fixtures – lever handles, a hand shower on an adjustable slide bar, and a comfort-height toilet – to serve a wide age range with grace. When your ADU bathroom designs target accessibility, plan clearances early and verify local rules. In California, the state’s Title 24, Part 5 California Plumbing Code governs plumbing compliance; you can confirm the current edition through the California Building Standards Commission. For roll-in shower expectations, consult federal accessibility guidance summarized by the U.S. Access Board’s guide to bathing rooms. Speak with your contractor about blocking behind tile for future grab bars – it’s a small step that delivers huge peace of mind.
Also helpful: If you’re on a slab, plan a linear drain closest to your existing main for shallower regrading, and choose a wall-hung vanity with knee clearance to keep the room airy and highly usable.
Your Step-by-Step ADU Bathroom Planning Checklist
If you’re wondering how to plan an ADU bathroom design with confidence, use this sequence to stay on time and on budget.
Homeowner planning roadmap
- Define scope and style: Must-haves, nice-to-haves, finishes, and fixture list.
- Map the wet wall: Choose one primary wet wall and sketch drain, vent, and supply routes.
- Verify codes and clearances: Door swing, fixture spacing, shower entry, fan ducting.
- Set budget ranges: Rough-in, fixtures, tile/finishes, lighting, contingency (10–15%).
- Coordinate power: GFCI outlets, lighting layers, fan control, smart valve power if used.
- Order long-lead items: In-wall carrier, tankless unit, specialty glass, custom vanity.
- Schedule trade sequence: Framing, rough plumbing/electrical, waterproofing, tile, trim.
- Inspect and test: Pressure test, leak checks, fan performance, fixture function.
- Final punch: Sealants, caulk lines, accessory mounting, care instructions.
For deeper design and routing insights before you draw, revisit local ADU Plumbing Tips & Guidelines.
Avoid These Common Small Bathroom Mistakes
Even polished plans can miss simple details. Don’t oversize fixtures for tight rooms – scale is everything. Avoid complicated plumbing runs that crisscross framing, and never skip a proper ventilation plan. Overlooking maintenance access is another pitfall: place shutoffs and cleanouts where you can reach them. For ADU bathroom renovation tips that actually save stress, measure twice, template doors and glass before ordering, and mock up heights with blue tape to confirm comfort. In streamlined ADU bathroom designs, every line is intentional – crowding walls with shelves or hooks defeats the calm you’re building. Finally, coordinate lighting and mirror size early; it’s the fastest way to make a small room feel larger and more welcoming.
Quick fixes that prevent headaches
- Right-size the vanity and WC to the room
- Keep plumbing on one wet wall when possible
- Choose a quiet fan sized for the room volume
- Confirm access to shutoffs and cleanouts
- Tape out fixture placements before drilling
Expert Design & Plumbing Advice
Beautiful bathrooms are a duet between designer and plumber. Start with shared priorities – fixture clearances, vent routing, and maintenance access – before picking tile. A plumber can help you pursue smart plumbing design that shortens hot-water runs and hides carriers, while a designer ensures materials amplify space and light. Ask suppliers about lead times, warranties, and compatibility: Will your in-wall carrier, wall-hung toilet, and flush plate work as a system? Are your shower valve trims matched to the valve body? Strong ADU bathroom designs feel seamless because the behind-the-wall parts and the finishes were chosen together. If you want a guide who understands ADUs from rough-in to ribbon cutting, reach out to Sacramento Plumbing Solutions (Home) for expert coordination and install support.
Tips from the field
- Align drain and vent stacks with tile layouts to keep cuts clean
- Use blocking for future grab bars, hooks, and accessories
- Select finishes after confirming valve and carrier specs
Ready to Build Your ADU Bathroom?
You’ve seen how five distinct concepts – minimalist, luxe, nature-forward, multifunctional, and accessible – can all thrive inside small footprints. The common thread is smart ADU bathroom planning: compact fixtures, clean-line layouts, and efficient plumbing choices that make living easy. As you translate inspiration into action, lock in a realistic timeline, confirm code requirements, and coordinate trades early. Great ADU bathroom designs don’t happen by luck; they’re the result of thoughtful choices, verified specs, and a team that’s done it before. If you’re ready to sketch, price, and schedule with confidence, lean on clear, local best practices and a trusted pro team to bring your ADU vision to life.
Designing Small Spaces That Feel Limitless
Smart design meets smarter plumbing when it comes to creating an ADU bathroom that feels spacious, stylish, and effortlessly functional. In a housing market focused on flexibility and value, these thoughtful ADU bathroom designs show that comfort doesn’t depend on square footage – it depends on planning. Right now, homeowners who approach their layouts with efficiency in mind are gaining more usable space and greater long-term convenience. Whether you’re drawn to sleek minimalism, nature-inspired calm, or tech-forward luxury, your bathroom can become the defining feature of your ADU. The key is starting early with an experienced team to ensure every pipe, tile, and fixture works in harmony. Take your vision from blueprint to reality and design a small-space retreat that’s not only beautiful today but built to adapt for years to come.